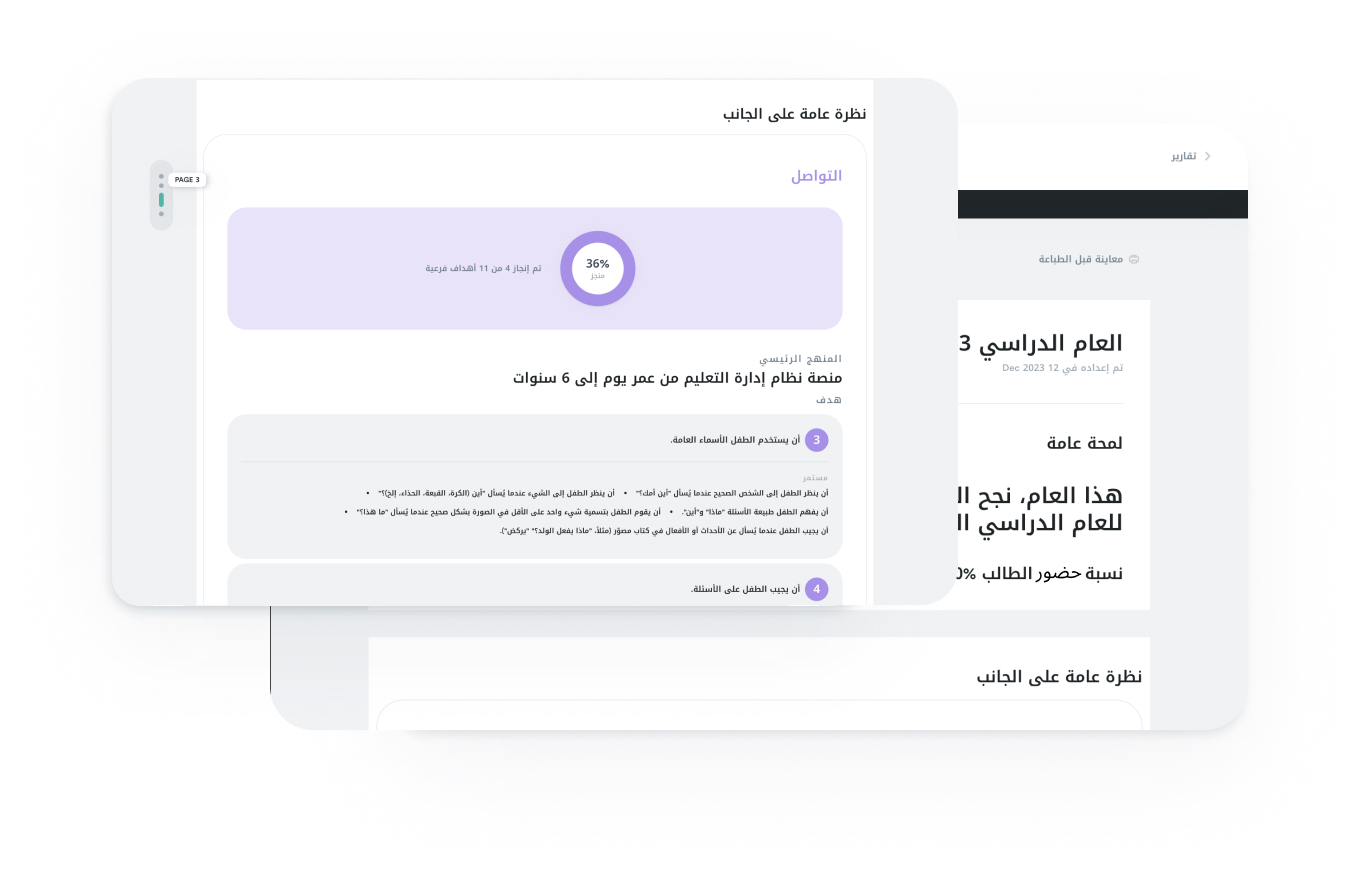
Of everything I built on SAUT, the worksheet builder is the feature I'm proudest of. It's also the one that, from the outside, sounds like a checkbox on a feature list: "teachers can create worksheets." But what that actually meant was building a design tool — a simplified Figma, essentially — inside an education platform.
Why worksheets matter
SAUT is a school for children with Down syndrome. The students don't use the software — everything happens face to face, with physical materials. Flashcards on the table. Worksheets on paper. Assessment done in person.
But every child learns differently. One child might be working on colour recognition while another is learning animal names. One child responds to large images with minimal text; another needs the text labels front and centre. A generic worksheet printed from a template doesn't work when every student has a different curriculum, different goals, different capabilities.
Teachers needed a way to build personalised worksheets — specific to each child's current subgoals — using the flashcards from the SAUT library. And those worksheets had to print perfectly on A4 paper, because paper is the medium. Not a screen. Paper.
The canvas
The worksheet builder is a browser-based canvas. Teachers open it, and they get a blank A4-sized artboard. From there, they can:
- Drag flashcard images from the SAUT library onto the canvas
- Add geometric shapes — circles, rectangles, lines — as teaching aids
- Add text labels with configurable font size and colour
- Resize, reposition, and layer elements freely
- Print the result, or export it as a PDF
It sounds straightforward until you think about what "print perfectly on A4" actually means. The canvas dimensions on screen aren't A4. The browser's print engine has its own opinions about margins, scaling, and page breaks. Drag-and-drop coordinates in pixels need to map to exact physical positions on a 210mm × 297mm sheet. And it needs to work on iPads — teachers used iPads in the classroom.
The Requirements
What "create worksheets" actually meant.
The flashcard system
Every flashcard in SAUT has a name, an image, and a set of tags. The naming format is
structured: Monkey - animal, mammals, brown. The name is the display label;
the tags are for search and categorisation. Teachers browse the library by domain, search
by tag, and drag what they need onto the canvas.
Each flashcard can be displayed three ways: image with text label, image only, or text only. This matters because some children respond better to visual cues while others are working on word recognition. The teacher chooses the display mode per card, per worksheet, per child.
And the sizes: at small, sixteen cards fit on a single A4 page. Medium gives you twelve. Large gives you six. The teacher picks the size based on the child's needs — younger children or those with visual processing challenges get larger cards. These aren't arbitrary sizes — they're calculated to divide an A4 sheet evenly with consistent margins.
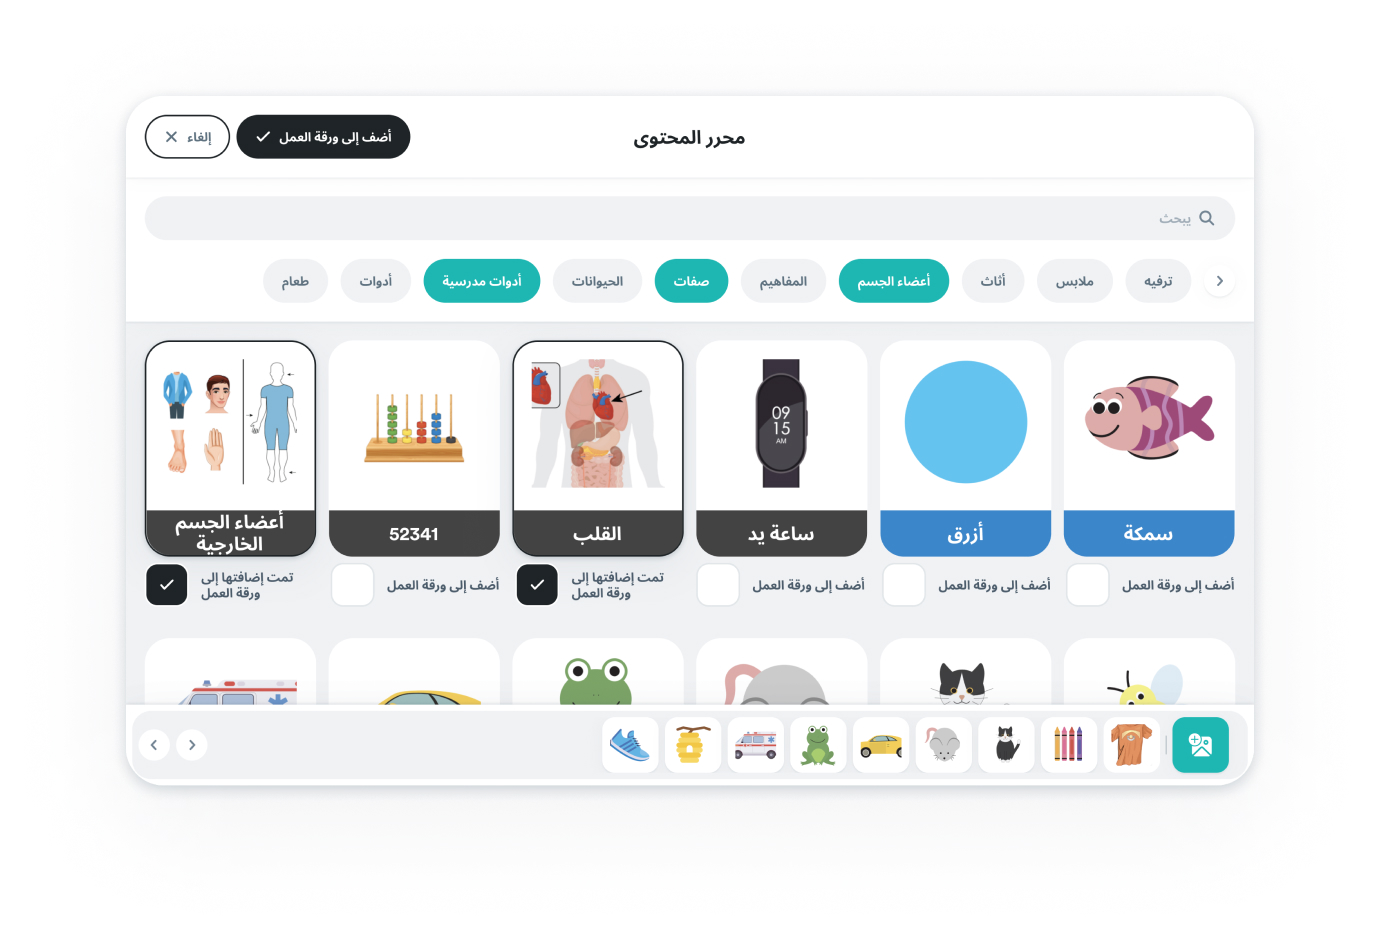
The flashcard library — categorised, tagged, searchable
Multi-page worksheets
The initial version was one artboard, one page. Then the request came: teachers wanted multi-page worksheets. A sequence of exercises that built on each other — page one introduces the concept with large flashcards, page two has a matching exercise, page three is a fill-in-the-blank with shapes and text.
This meant managing state across multiple artboards. Each artboard is its own A4 canvas with its own set of elements, its own positioning grid. But they all belong to a single worksheet entity. When you export, they compile into a multi-page PDF where each page maps exactly to one artboard.
The tricky part was the UI. How do you navigate between artboards without losing your mental model of the worksheet as a whole? How do you reorder pages? Duplicate a page and modify it slightly for a different child? Delete page three without affecting pages one and two?
The print problem
Browser printing is a minefield. Every browser handles @media print slightly
differently. Safari on iPad has its own quirks
around margins, page breaks, and scaling. The goal was simple: what the teacher sees on
the canvas is exactly what prints on paper. No surprises, no misalignment, no elements
drifting off the edge.
The canvas is an HTML <canvas> driven by fabric.js, with a fixed-size
artboard — 740 × 895 pixels in portrait, 937 × 578 in landscape — so a position on the
canvas is the same position on every device, whatever its screen. Export renders the
artboards with html2pdf.js at five times their on-screen resolution, and jsPDF sets the
page orientation; the PDF is then uploaded to the backend. The fixed artboard keeps a
flashcard where the teacher put it; the 5× render keeps it sharp on paper.
This took more iterations than I'd like to admit. The first version worked on desktop Chrome. It broke on Safari. The Safari fix broke the iPad print flow. The iPad fix introduced a scaling issue on high-DPI displays. Each fix revealed another edge case. Eventually we got it right — consistent, predictable printing on every device the teachers used.
Product demo — Worksheet builder in action
Teacher picks flashcards, places them on the canvas with shapes, and prints the worksheet
Templates and sharing
Once teachers started building worksheets, two patterns emerged. First, they wanted to save worksheet layouts as templates — a matching exercise layout they could reuse with different flashcards each time. Second, they wanted to share worksheets with other teachers, especially within classgroups where multiple students shared similar goals.
We added both. Templates could be created at two levels: admin-level templates available to all teachers, and personal templates created by individual teachers for their own use. Worksheets could be duplicated, shared within classgroups, and modified without affecting the original. A teacher could take a colleague's worksheet, swap out three flashcards for ones appropriate to their student, and print a personalised version in under a minute.
What I learned
- The hardest features are the ones that sound simple in the brief. "Teachers can create worksheets" is one sentence. The implementation was months of work.
- Print fidelity is a browser compatibility problem disguised as a design problem. You solve it with a device matrix and repeated testing, not with one clever stylesheet.
- A canvas tool in a domain-specific application doesn't need to be Figma. It needs to do ten things perfectly, not a hundred things adequately. Constraining the feature set was as important as building it.
- Watching a teacher build a worksheet for a specific child — picking flashcards that match that child's current subgoals, sizing them for that child's visual processing level — is the moment you understand why custom tooling matters. A templated PDF couldn't do this.
More on SAUT
Next up
7 min · 2023
Wearing Three Hats — Frontend Dev, PM, Designer
Essay · SAUT